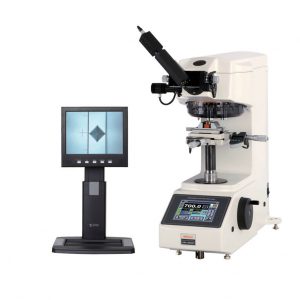
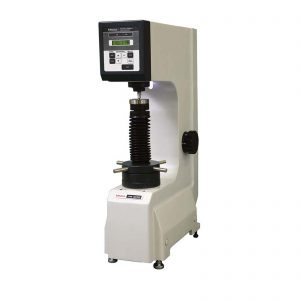
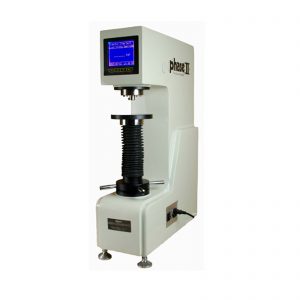
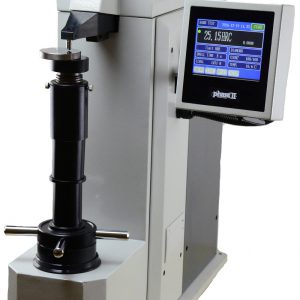
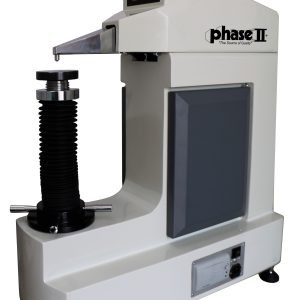
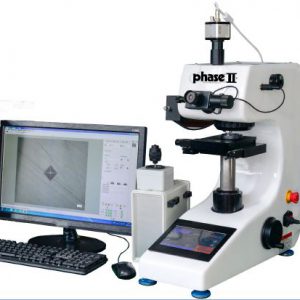
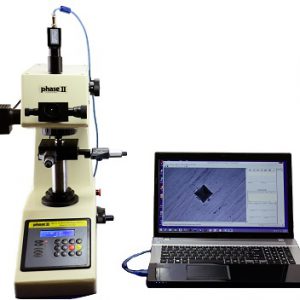
What is a Rockwell Hardness Test
Rockwell hardness testing is one of the more common hardness testing for metal and materials you will find out there. Yet what is exactly a Rockwell Hardness Test? What makes it different from other hardness tests? We are going to give you a break down of what is a Rockwell Hardness Test.
Definition of a Rockwell Hardness Test
The Rockwell test measuring the depth of penetration of an indenter under a large load compared to the penetration made by a preload. Hardness is defined as a material’s resistance to permanent indentation. Rockwell Hardness Test is one method of testing the hardness of a material and uses the Rockwell scale based on indentation hardness of a material.
History of the Rockwell Hardness Tester
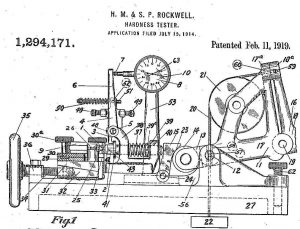 Hugh M. Rockwell (1890–1957) and Stanley P. Rockwell (1886–1940) from Connecticut co-invented the Rockwell Hardness Tester in 1919. Interestingly enough, they are not related though they both shared the same last name, and both worked at the same company, New Departure Bell Company which later would be a part of United Motors. The company was becoming known for bearing construction in automobiles in the later 1910’s and early 1920’s. The hardness tester developed out of the need for a machine that could quickly and easily measure the effects of heat treatment on the bearing track. Hugh and Stanley expanded upon the traditional indention test methods of the time by using a conical diamond for the indention media and basing the test results on displacement. Stanley Rockwell began the commercial production of Rockwell testers with an instrument manufacturer in Hartford, Charles H. Wilson 1924, well after both Stanley and Hugh had moved on from United Motors.
Rockwell Hardness Test Procedure
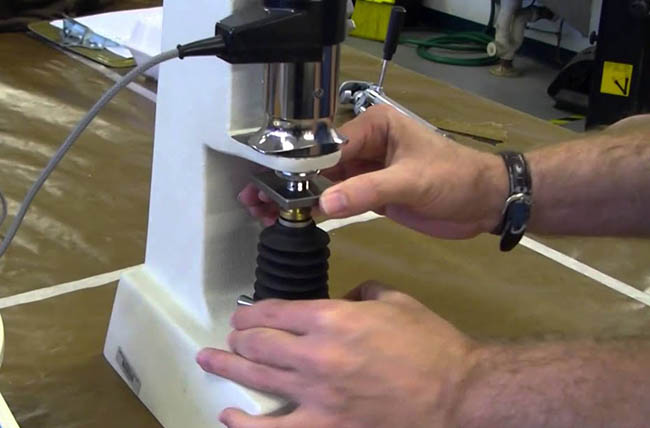
The Rockwell hardness test consists of indenting the test material with a diamond cone or hardened steel ball indenter. Different indenter ball diameters from 1/16 to 1/2 in. are used depending on the test scale. Each time a test is performed two loads are applied to the sample being tested. First, the indenter is forced into the test material under a preliminary minor load and this depth is recorded. With the minor load still applied an additional load is introduced known as the major load which increases the depth of penetration on the sample. The Rockwell hardness number is calculated from the depth of permanent deformation of the indenter into the sample, i.e. the difference in indenter position before and after application of the major load.
Rockwell Hardness Scale
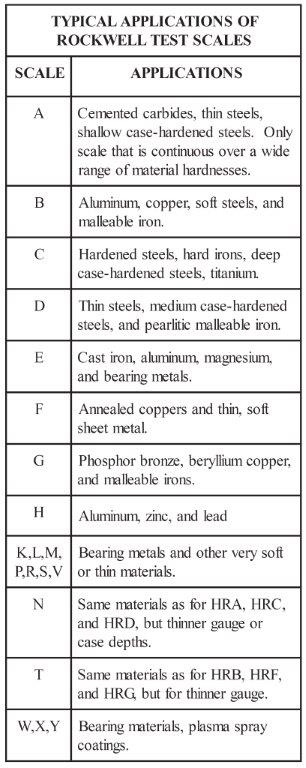
A combination of indenter types and a range of test loads form a matrix of Rockwell hardness scales that apply to a wide variety of materials. The Rockwell hardness number is expressed as a combination of the measured numerical hardness value and the scale letter preceded by the letters. Current Rockwell Hardness test methods, standard and hardness calculations are specified in ASTM E-18
Superficial Rockwell Hardness Testing
Superficial Rockwell Hardness Testing is a more surface-sensitive measurement of hardness. These use lower loads and shallower indentions when a sample may be too brittle or thin for a standard Rockwell Hardness Test.
Rockwell Hardness Testing Applications
Rockwell hardness testing applied to measuring the bulk hardness of metallic and polymer/plastic materials and have a wide range of applications. These include: Quality control for metal heat treatment, material inspection, welding evaluations, production evaluations involving alloys, Grade verification for hard plastics, and failure analysis.
Metallurgical Supply Company (METSUCO) has been a leading supplier of hardness testing machines and blocks for over 30 years. We serve not only industries such as oil and gas, aerospace, automotive, and heavy manufacturing, but also universities and quality testing labs. Call 713-827-0700 or email sales@metsuco.com with inquiries.

