Comparing the Hardness Scales
In previous posts, we have talked about the differences between the different hardness tests, such as Vickers, Rockwell and Brinell. However, we haven’t talked as much about comparing the scales and what makes them different. Here we want to go more into comparing the hardness scales themselves.
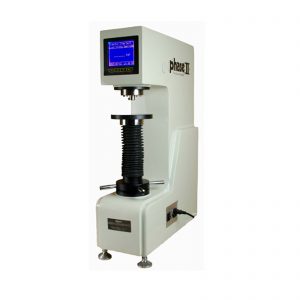
First though, a quick word about testing methodology. These different scales are measured by using different hardness testing equipment and methodology, but Vickers, Rockwell and Brinell and even Shores have one thing in common, they are all measuring the hardness by indentation. Whether it’s the carbide ball of a Brinell Test or the Diamond Indenter of the Vickers test, they all measure hardness from the indention.
Brinell Scale
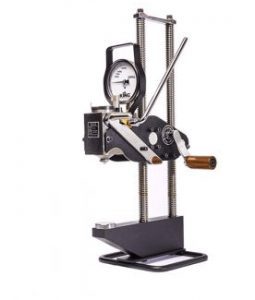
The Brinell Scale was the first widely adopted hardness test and was invented in 1900. We say first widely adopted because there had been different hardness tests for hundreds of years, but the Brinell test was the first one widely agreed upon and adopted. Brinell scale is used, among other things, to determine the ultimate tensile strength (UTS) of steel. That’s because when you divide the Brinell scale hardness value in half, you get the UTS in pounds per square inch.
Rockwell Scale
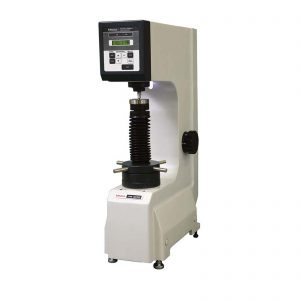
The Rockwell scale was invented in the early 1900’s by Hugh and Stanley Rockwell (Not related). This scale compares the indentation caused by a large load with the indentation caused by a smaller load. The big difference with this scale versus others is that others measure strength by the size or width of the indentation left, the Rockwell method measures strength through depth. The purpose is because the Rockwell test was designed to look for damage beyond what was just superficial. In many cases, integrity of a material cannot be simply observed at a surface level, and this is why this is a commonly practiced hardness test in manufacturing and engineering.
Vickers Scale
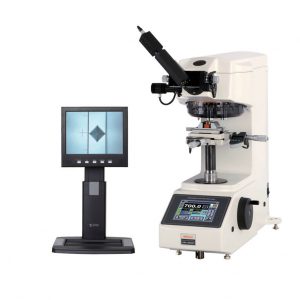
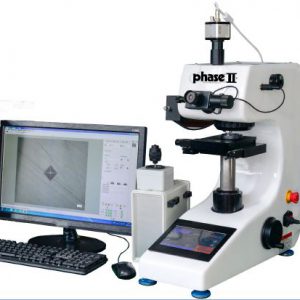
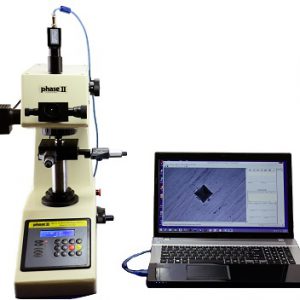
Invented in 1921 by Robert L. Smith and George E. Sandland at Vickers Ltd., the Vickers hardness test is mostly used for small parts, thin sections, checking the hardness of layers, coatings on small parts or case depth work. The test is used on metals, ceramics, and composites, making it useful for a wide range of materials making Vickers a common hardness test used. The Vickers scale is based on an optical measurement system using a diamond indenter to make an indentation which is measured and converted to a hardness value. Even though the indentation itself is small, the indentations should be as large as possible to maximize the measurement resolution. (Error is magnified as indentation sizes decrease)
Shore Scale
The Shore scale was invented in the 1920’s by Albert Ferdinand Shore. The major difference is that this scale does not focus on metals, but rather focuses on measuring the hardness of elastomers, rubbers, and polymers.
Metallurgical Supply Company (METSUCO) has been a leading supplier of hardness testing machines and blocks for over 30 years. We serve not only industries such as oil and gas, aerospace, automotive, and heavy manufacturing, but also universities and quality testing labs. Call 713-827-0700 or email sales@metsuco.com with inquiries.

