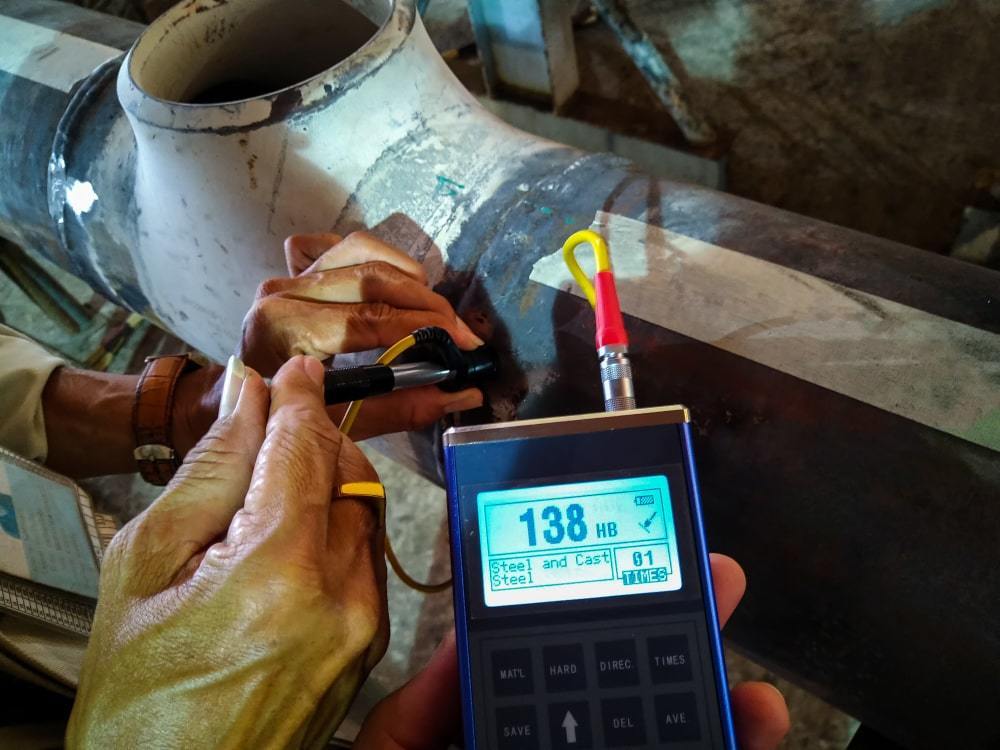
Hardness Testing for Welding Joint Integrity
Hardness testing for welding joint integrity is vital for guaranteeing the structural integrity of the metal pieces being joined. It’s not always the same types of metal that are being welded together. The weld itself might be of the same material as the welded workpieces or might be of a different material (alloy) compared to the welded components. Because welding uses high heat, it can change the surrounding metal properties. At the joint of the two metals, there could be micro-cracks or delaminations that make the joint brittle. There’s no use having an ultra-strong joint if the surrounding metal is weak, or for the weld to be weak on strong metal. For example, if you are welding a piece of 440 stainless steel onto a piece of hardened steel, the hardened steel at the weld junction can become brittle if it has been heated too much during the weld. This area is categorized as a heat-affected zone (HAZ). The different components of a weld include: the base metal displaying the depth of penetration of the weld, the HAZ, the fusion line, and the weld bead.
Hardness testing standards.
Hardness testing standards are defined in ISO 9015 and ISO 22826. For those not familiar, ISO stands for International Organization for Standardization. They are an independent, non-governmental, international organization that develops standards to ensure the quality, safety, and efficiency of products, services, and systems. ISO 9015 Part 1 describes hardness testing of arc-welded joints. Part 2 deals with micro-hardness testing of welded joints. ISO 22826 explains hardness testing of narrow joints welded by laser and electron beam.
Types of Hardness Testing for Welding Joint Integrity
There are several different types of hardness testers, including Vickers, Brinell, and Rockwell. All methods of hardness testing are based on the principle of applying a standard load through an indenter and measuring the penetration in terms of diameter/diagonal/depth of indentation. High penetration of an indenter at a given standard load suggests low hardness. When it comes to hardness testing welds, benchtop models are used inside factories, especially if needing to certify parts. Portable hardness testers are often used for checking flat and round structural pieces in the field.
An example of a hardness test of a welding joint could be a Vickers test. Vickers hardness tests use a square pyramid shaped diamond indenter and a load ranging from 1 to 120 kg. Vickers indentation is smaller than the Brinell impression, thus far smaller areas can be tested, making it possible to carry out a survey across a welded joint. This includes individual runs and the heat affected zones. The small impression also means that the surface must be flat and perpendicular to the indenter and should have a better than 300 grit finish.
In the end, the type of hardness test needed to check welds will be determined by several factors including where the weld is and what kind material is being tested. Weld hardness testing standards are defined in ISO 9015 and ISO 22826, but there are other quality standards and customer requirements out there. Make sure to understand your customer’s specifications and which standards need to be adhered to.
Metallurgical Supply Company (METSUCO) has been a leading supplier of hardness testing supplies for welding and welding joints for over 30 years. We serve not only industries such as oil and gas, aerospace, automotive, and heavy manufacturing, but also universities and quality testing labs. Call 713-827-0700 or email sales@metsuco.com with inquiries.

