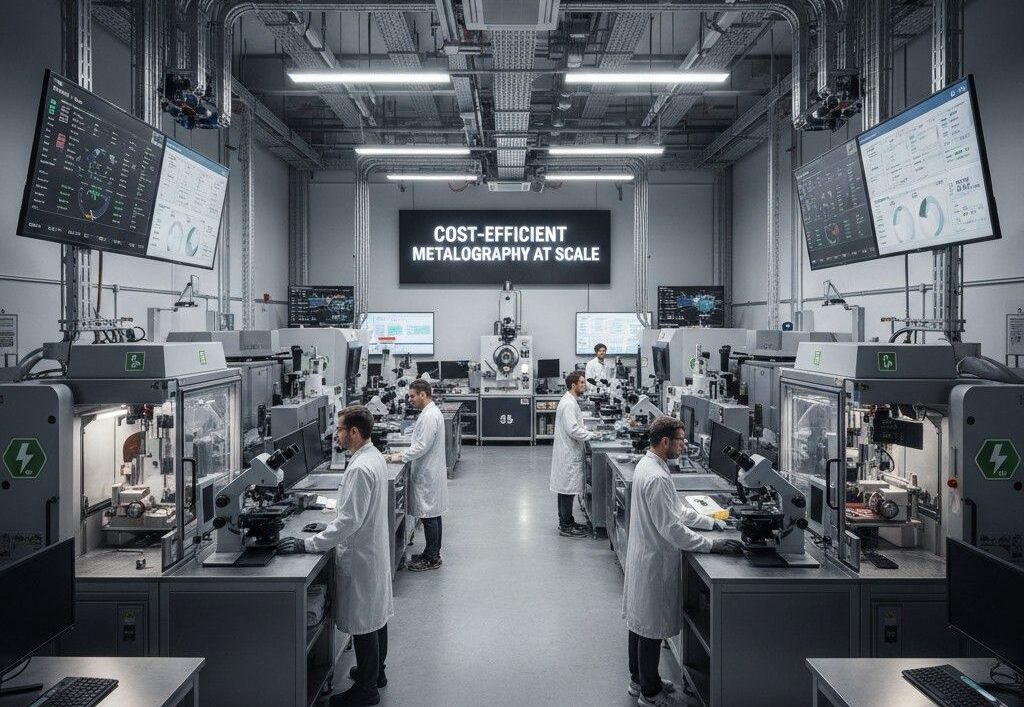
How to Run a Cost-Efficient Metallography Lab at Scale
Running a cost-efficient metallography lab is not about buying the most advanced equipment—it’s about building a balanced system where workflow, staffing, SOPs, and equipment mix align with throughput goals. Many labs invest heavily in equipment yet struggle with low output, bottlenecks, and rework that quietly increase cost per sample.
Across industrial manufacturers, testing facilities, and academic labs, the pattern is consistent: sustainable throughput gains come from improving process alignment and staffing structure—not from adding more machines.
This guide explains how to operate a metallography lab efficiently at scale, covering workflow optimization, equipment planning, staffing models, SOP design, automation decisions, and long-term scalability. The objective is clear: higher throughput, lower cost per sample, and consistent quality.
Why Cost Efficiency and Throughput Limit Most Labs
Equipment Alone Does Not Drive Productivity
Even well-funded labs miss daily targets when:
- Operators spend time adjusting equipment instead of preparing samples
- Machines sit idle between steps
- One undersized process stage creates a bottleneck
Productivity depends on system balance, not machine specifications.
Hidden Costs That Raise Cost per Sample
The most significant operating costs often include:
- Unplanned downtime
- Re-mounting and re-polishing
- Overdependence on a few experienced technicians
These issues rarely appear in capital budgets but heavily impact operating expense.
Why Quality Drops as Volume Increases
As volume rises, minor preparation inconsistencies compound. Without standardized SOPs and balanced capacity, inspection time increases and rejection rates climb.
What Defines a Cost-Efficient Metallography Lab
Measure Cost per Accepted Sample
Efficiency is measured by accepted samples per shift—not equipment price. A lower-cost machine that causes rework ultimately increases expenses.
Track Throughput per Shift
High-performing labs monitor:
- Samples completed per shift
- Rework rate
- Operator idle time
- Equipment utilization
Throughput per shift provides a realistic view of operational performance.
Consider Total Lifecycle Cost
Common overlooked expenses include:
- Consumable waste from inconsistent preparation
- Idle time between workflow step
- Rework cycles
- Queue delays between preparation stages
Low upfront pricing often leads to higher long-term cost due to service limitations, inconsistent build quality, and proprietary consumables.
Metallography Lab Workflow Optimization
Balance the Entire Sample Preparation Process
A typical workflow includes:
- Cutting
- Mounting
- Grinding
- Polishing
- Inspection
Each step must have balanced capacity. A bottleneck at any stage reduces overall output.
Common Throughput Bottlenecks
- Single-point equipment failures
- Insufficient mounting or polishing capacity
- Surface preparation inconsistencies that increase inspection time
When upstream preparation varies, inspectors spend time correcting issues instead of analyzing microstructures.
Equipment Mix Planning
Avoid Over-Investing in One Stage
Allocating excessive budget to one process step while neglecting others creates idle time and workflow congestion.
Manual vs. Automated Equipment Economics
Manual systems often outperform automation at low-to-medium volumes because they offer:
- Faster changeovers
- Lower setup time
- Greater flexibility for varied materials
Automation becomes effective only when utilization remains consistently high.
Standardization Reduces Process Drift
Variability between machines weakens SOP compliance and increases operator-dependent adjustments. Consistent equipment behavior supports repeatable results.
Ergonomics and Interface Design Matter
Poor ergonomics reduce consistency and productivity. Complex interfaces extend training time and increase variability.
Automation Decision Framework
When Automation Slows Output
Automation underperforms when:
- Setup time exceeds manual cycle time
- Sample types frequently change
- Material variability requires frequent adjustments
Automation Break-Even Point
Automation becomes cost-effective when:
- Sample volume is stable
- Material mix is consistent
- Staffing supports continuous utilization
Without proper staffing and workload stability, automated systems sit idle.
Staffing Strategies for High-Throughput Labs
Tiered Staffing Model
Efficient labs separate responsibilities:
- Entry-level technicians: routine preparation
- Advanced prep specialists: complex materials
- Inspection experts: analysis and reporting
This structure reduces bottlenecks and protects quality.
Maintain Proper Technician-to-Equipment Ratio
Adding machines without increasing staffing often lowers throughput instead of raising it.
Reduce Dependence on “Hero Operators”
Processes should function consistently regardless of who is on shift. Heavy reliance on a few experts increases operational risk.
Cross-Training with Clear SOPs
Cross-training improves flexibility only when procedures are standardized and equipment behavior is predictable.
SOP-Driven Throughput and Repeatability
Write SOPs Around Real Conditions
SOPs built on ideal machine performance fail in real environments. Effective SOPs define acceptable operating ranges.
Align Preparation Steps
Cutting, mounting, grinding, and polishing procedures must support one another. Disconnected standards create inspection issues.
Embed Quality Checks Strategically
Well-placed checkpoints prevent rework without slowing production.
Preventive Maintenance and Uptime Planning
Planned Maintenance Protects Throughput
Reactive maintenance creates unpredictable downtime and missed deadlines.
Small Failures Create Major Losses
Frequent minor breakdowns often disrupt production more than rare major failures.
Evaluate Spare Part and Service Risks
Proprietary consumables, limited documentation, and unsupported equipment increase lifetime operating cost and restrict scalability.
Vendor Evaluation Beyond Specifications
Reliability Over Reputation
Brand recognition does not guarantee long-term performance.
Service Response Impacts Output
Slow technical support directly reduces throughput.
Consumable Flexibility Reduces Risk
Open sourcing options provide cost stability and operational flexibility.
Evaluate vendors based on serviceability, documentation access, and total lifecycle cost—not just specifications.
Training and Onboarding Efficiency
Shorten Time to Productivity
Clear SOPs and intuitive equipment reduce onboarding time.
Simplicity Improves Consistency
Straightforward interfaces decrease training burden and operator variability.
Academic vs. Industrial Lab Needs
Academic labs prioritize flexibility and learning. Industrial labs prioritize repeatability and speed.
Data-Driven Lab Management
Key Performance Indicators
Track:
- Equipment utilization (%)
- Cycle time per specimen
- Rework rate (%)
- Cost per accepted sample
Use Data to Identify Bottlenecks
Metrics expose inefficiencies that experience alone may overlook.
Objective data supports informed decisions about staffing, automation, and equipment planning.
Real-World Scenario Example
An industrial lab processing 120 samples per day experienced mounting backlogs, high rework, and idle polishing capacity.
Before workflow adjustment:
95 accepted samples per shift
After balancing mounting capacity and refining SOPs:
135 accepted samples per shift
Automation reduced cycle time only after volume exceeded 180 samples per day and staffing was adjusted accordingly.
Common Cost-Efficiency Mistakes
- Automating without sufficient volume
- Purchasing over-specified, underutilized equipment
- Using training to compensate for weak processes
- Ignoring lifecycle cost during procurement
Designing a Scalable Metallography Lab
Modular Workflow Design
Modular layouts allow incremental expansion without major disruption.
Plan for Growth
Select equipment that supports capacity increases without full replacement.
Scale Staffing and SOPs Together
Growth without process alignment increases variability and rework.
Key Strategic Takeaways
- Throughput is a system outcome
- Cost efficiency comes from process alignment
- Sustainable labs balance people, process, and equipment
Frequently Asked Questions
How do you calculate cost per sample in a metallography lab?
Include consumables, labor, downtime, rework, and depreciation divided by accepted samples.
When does automation make sense?
When sample volume, material mix, and staffing support consistent utilization.
What are the most common workflow bottlenecks?
Mounting capacity, polishing queues, and inspection rework.
Why do labs struggle to scale throughput?
Workflow imbalance and inconsistent SOP execution are more common causes than equipment limits.
How do you design a scalable metallography lab?
Use modular layouts, balanced capacity planning, and standardized operating procedures.
Explore Practical Lab Optimization Strategies
If your lab is experiencing rising rework, downtime, or staffing strain, it may be time to reassess workflow design and equipment planning. Strategic assessments focused on throughput, serviceability, and lifecycle cost deliver long-term performance improvements.
At Metsuco, we help labs evaluate workflow economics, staffing alignment, and equipment mix to achieve predictable, scalable results—without unnecessary complexity.
Add comment