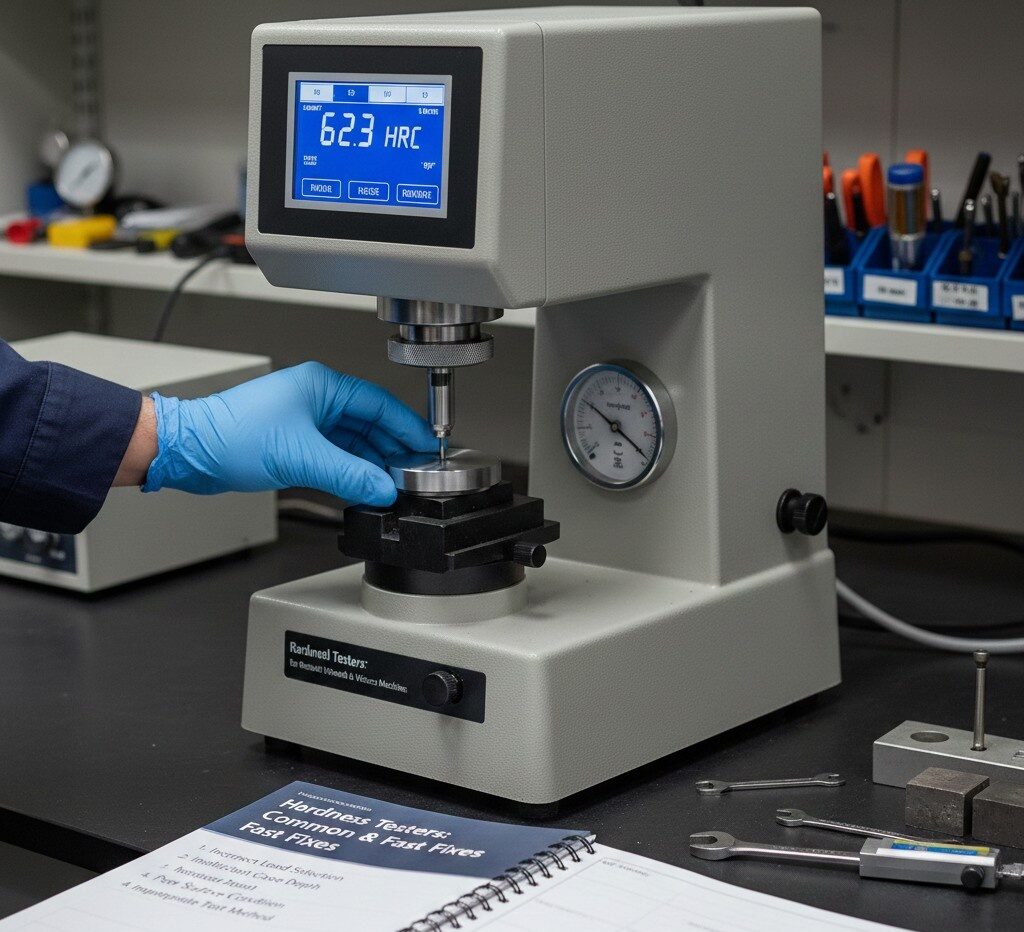
Troubleshooting Hardness Testers: Common Errors and Fast Fixes
Hardness testing is often treated as routine—until results fall outside specification. When that happens, confusion, rework, and production delays follow. In most cases, the problem is not faulty equipment, but incorrect load selection, insufficient case depth, poor surface condition, or an inappropriate test method.
This guide focuses on practical hardness tester troubleshooting—helping you identify root causes quickly and correct them without unnecessary recalibration or reprocessing.
Why Hardness Tester Troubleshooting Matters
In production and lab environments, inaccurate hardness readings can delay approvals, trigger unnecessary re-heat treatment, or lead to rejected parts. Too often, teams recalibrate machines or question heat treatment quality before confirming whether the test method fits the material condition.
Thin case depths, surface-hardened layers, and real-world part geometry frequently fall outside ideal testing assumptions. Effective troubleshooting reduces scrap, saves time, and restores confidence in results.
When Hardness Readings Are Lower Than Specification
When hardness readings come back lower than specification, the problem is rarely the tester itself. In most cases, the indentation penetrates through the hardened surface layer and into the softer core material, which naturally reduces the measured value. This is especially common when working with thin case depths in the range of .010–.015 inches, or about 30 microns, where even moderate test loads can exceed the effective hardened zone.
When the indentation extends beyond the case, the reading represents a mix of surface and substrate hardness rather than true surface hardness. This leads to results that appear incorrect even though the tester is functioning properly. In these situations, the real issue is that the selected test method is not suitable for the case depth, and a lower load or alternative hardness testing method is required.
When Results Are Inconsistent or Unrepeatable
Typical contributors:
- Test loads not properly verified
- Poor surface condition, oxides, or rounded geometry
- Differences in dwell time or setup between operators
These issues are common in shared labs and field testing.
Case Depth vs. Indentation Depth: The Most Common Error
Even when a superficial scale (e.g., R15N) is used, results can still be invalid if the case depth cannot contain plastic deformation. Deformation extends beyond the visible indent, allowing the softer core to influence readings.
Bottom line: If the load is too high relative to case depth, the result will not represent true surface hardness.
Common Errors by Hardness Method
Rockwell Testing
Limitations include:
- Indentation exceeding thin hardened layers
- Misleading results on laser-hardened or nitrided surfaces
- Use of fast testing where it does not apply
Rockwell testing is unreliable when hardened layers are shallow.
Superficial Hardness Testing
Reduced load helps—but limits remain.
- Incorrect or unverified loads
- Case depths still too thin to contain deformation
This often results in apparently valid but inaccurate readings.
Microhardness Testing
Often the correct solution—when applied properly.
- Loads still too large for fine microstructures
- Testing on curved or poorly prepared surfaces
For very thin cases, macro and superficial methods cannot provide reliable data.
Machine, Method, or Material?
Before recalibrating:
- Verify the testing standard is applied correctly
- Confirm sample geometry and surface condition are valid
Recalibration will not fix method misapplication.
Hardness standards ensure repeatability—not validity in every scenario. Thin cases and surface treatments frequently fall outside recommended conditions.
When to Switch Testing Methods
Rockwell & Superficial Testing Are No Longer Valid When:
- Case depth is below practical indentation limits
- Parts are surface- or laser-hardened with shallow heat-affected zones
Forcing the method only adds uncertainty.
Better Alternatives
- Microhardness traverses (hardness vs. depth
- Low-load Vickers with proper preparatio
- Nanoindentation for ultra-thin layers
Selecting the right method is often the fastest fix.
Fast Troubleshooting Checklists
2-Minute Pre-Test Check
- Load and scale match expected case depth
- Surface is flat, clean, and representative
- Indent spacing and dwell time are consisten
Before Recalibration or Re-Heat Treating
- Is the indent fully within the hardened layer?
- Are all operators using the same setup?
- Is the method appropriate for the heat treatment?
Key Takeaways
Accurate hardness testing depends on aligning:
- Case depth
- Load selection
- Surface preparation
- Test method
Most errors occur when one factor is overlooked. Effective troubleshooting focuses on material behavior—not machine settings.
Need a Second Look?
If you’re seeing recurring hardness discrepancies or results that don’t align with expectations, a brief review of the application, case depth, and test method can often clarify the issue quickly. Even a short technical discussion can help confirm whether the current approach is valid—or if a different method would provide more reliable data.
Add comment