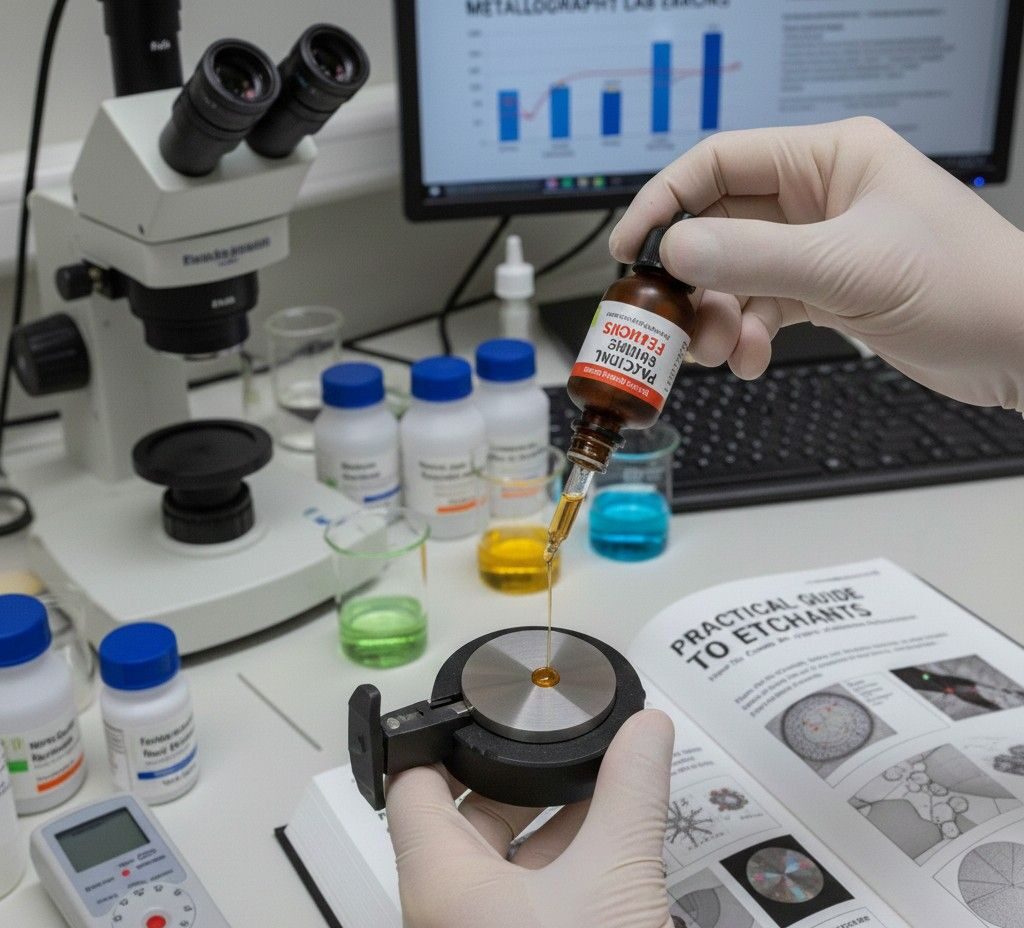
Practical Guide to Etchants: How to Choose, Mix, and Apply for Consistent Microstructures
Did you know? Did you know that over 70% of metallography lab errors stem from inconsistent etching or improper sample preparation? Even with the right polishing and mounting, a poor etch can make the most expensive microscope useless. This guide dives into practical strategies to choose, mix, and apply etchants for reliable, repeatable microstructures, helping lab technicians, metallurgists, and material scientists achieve consistent results every time.
Why Etchant Selection Determines Microstructural Accuracy
Etchants are chemical or electrolytic solutions that selectively attack specific features of a metal, revealing grain boundaries, phases, inclusions, and precipitates. Metallography relies on these microstructures to assess material quality, performance, and durability. Yet many labs struggle with common challenges: over-etching, uneven results, and confusion over recommended etching times or concentrations.
What Are Metallographic Etchants?
Purpose of Etching in Metallography
Etching brings hidden microstructural features to the surface. It enhances contrast after polishing, allowing clear visualization of grains, phases, and inclusions. Without proper etching, even a well-prepared sample may yield misleading or unreadable results.
Types of Etchants
- Chemical Etchants: Popular examples include Nital, Picral, and ferric chloride.
- Electrolytic Etchants: Controlled by applying a mild electrical current for selective dissolution.
- Material-Specific Etchants: Tailored for steels, aluminum, copper alloys, and solder alloys.
How Etchants Work
Etching is a combination of oxidation and selective dissolution, influenced heavily by concentration, temperature, and sample composition. Understanding these mechanics is crucial for achieving consistent microstructures.
Choosing the Right Etchant
Key Factors
- Alloy type: steel, aluminum, solder, multiphase alloys
- Desired microstructure features: grain boundaries, carbides, phases
- Sample sensitivity: heat-sensitive or chemically reactive
- Mounting method: cold mount vs compression mount impacts edge retention
Recommended Etchants by Material
- Steels: Nital for general contrast, Picral for carbide definition
- Soft Solder Alloys (Bi-Pb-Sn-Cd): Extremely diluted solutions; avoid aggressive acids like ferric chloride or nitric acid
- Aluminum Alloys: Keller’s reagent
- Copper Alloys: Diluted ferric chloride or ammonium persulfate
- Complex Solder & Multi-Phase Alloys: Controlled, low-strength etchants
When to Use Swabbing, Immersion, or Electrolytic Etching
- Swabbing: Ideal for single-phase metals, careful localized etching
- Immersion: Uniform etch coverage with strict timing control
- Electrolytic: Offers precise control for soft alloys and multi-phase samples
Mixing Metallographic Etchants
Why Mixing Strength Matters
Overly concentrated etchants react too fast, causing uneven attack or even destroying fine microstructures. Many textbooks recommend strong formulas, but in practice, softer metals require milder solutions.
How to Mix Common Etchants Safely
- Dilute step-by-step (Nital, Picral, ferric chloride).
- Control temperature to slow reactions.
- Store in airtight, clearly labeled containers with limited shelf life.
Practical Dilution Guidance for Beginners
Start mild and increase strength gradually. For soft alloys or multi-phase solders, always begin with lower concentrations and short immersion times. Ratio charts can guide initial mixing.
Application Techniques
Swabbing Technique
Use swabs for precise, localized etching. Avoid streaking by moving consistently and maintaining proper solution contact.
Immersion Technique
Ideal for uniform etch coverage, especially on flat samples. Monitor time carefully to avoid over-etching.
Electrolytic Etching
Applies a controlled electrical current to achieve consistent, repeatable results. Excellent for delicate solder alloys and multiphase metals.
Surface Preparation Before Etching
Proper polishing and cleaning are critical. Residues or scratches can cause blotchy etches, masking true microstructure.
Troubleshooting Etching Problems
- Avoid Over-Etching Soft Alloys: Use diluted solutions, reduce exposure times, or switch to electrolytic methods.
- Why Etched Features “Rub Off”: Often contamination; re-polish and re-etch for accurate results.
- Uneven or Blotchy Microstructures: Caused by strong etchants, heat, or improper swabbing.
- Reliable Grain Contrast: Adjust Nital/Picral ratios or switch to Picral for carbide-rich steels.
Material-Specific Etching Scenarios
- Soft Solder Alloys: Use ultra-diluted etchants; very short immersion times.
- Multi-Phase/Eutectic Alloys: Reveal phases individually without smearing.
- High-Carbon Steels: Picral for carbide visibility.
- Aluminum & Copper Alloys: Use temperature-sensitive, gentle solutions.
Ensuring Consistency & Repeatability
- Maintain etching logbooks.
- Standardize dilution recipes.
- Control temperature, time, and mounting consistency.
Mounting Methods and Etching Outcomes
- Cold Mounting: Heat-sensitive specimens; possible edge pull-out.
- Compression Mounting: Hard metals, excellent edge definition. Select etchants compatible with mount type.
Equipment & Consumables: How Metsuco Supports Accurate Etching
Metsuco provides high-purity chemicals, mounting systems, polishing pads, grinding papers, and sample holders—all designed to minimize lab variability and maximize reproducibility.
Choosing, mixing, and applying etchants correctly ensures reliable, repeatable microstructures. By standardizing workflows and applying proper techniques, labs can avoid over-etching and achieve high-quality metallography results. Explore Metsuco’s professional-grade etchants, mounting resins, and sample preparation equipment to enhance accuracy and reproducibility in your lab.
Add comment